Crystal
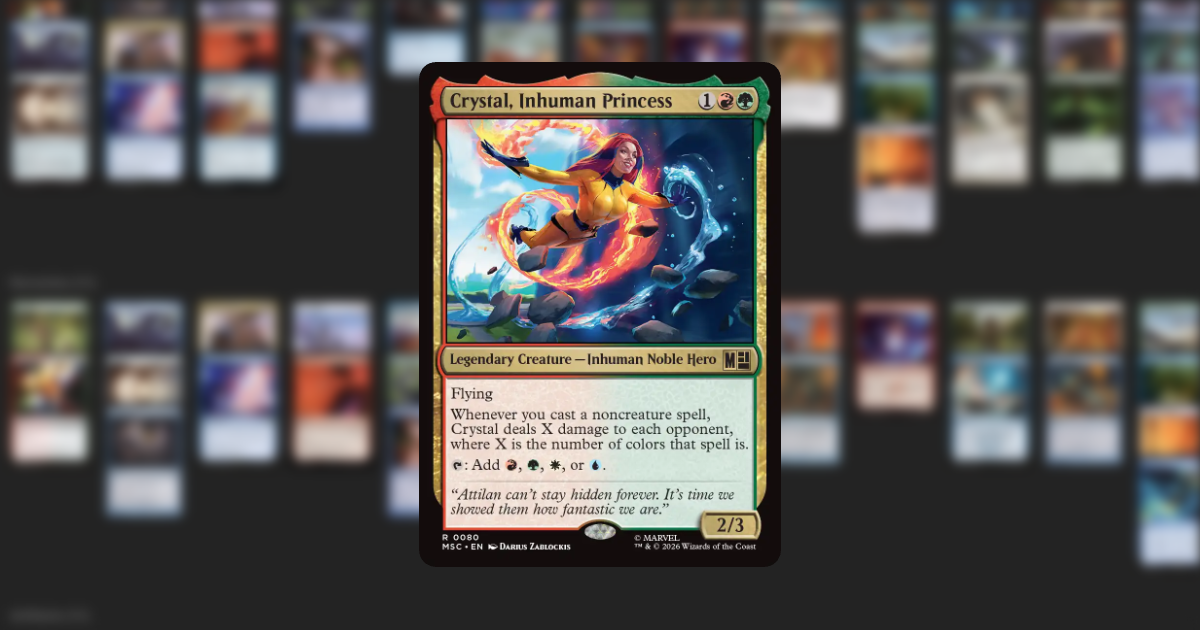
[[Crystal, Inhuman Princess]] leads a four-color [[symbol:w]][[symbol:u]][[symbol:r]][[symbol:g]] storm deck. Whenever you cast a noncreature spell, she deals damage to each opponent equal to its number of colors. Draw auras like [[Curiosity]] turn that damage into cards. The deck chains cheap colored noncreature spells and wins with [[Underworld Breach]] into [[Brain Freeze]] or a short loop with Crystal.
Core Gameplan
Cast [[Crystal, Inhuman Princess]] and give her a damage-based draw effect. Then use cheap colored noncreature spells to draw through the deck while developing mana and dealing damage. Colorless spells can help your mana without triggering the draw auras.
Protect Crystal when she carries several auras. If you cannot keep her on the battlefield, lean on your other draw engines until you can rebuild. Save enough mana to cast the win you find, rather than spending it all to see more cards.
Strengths and Weaknesses
Strengths
Draw Auras Stack: Each aura triggers once for each opponent Crystal actually damages with a colored noncreature spell ([[Curiosity]], [[Keen Sense]], [[Ophidian Eye]]).
Crystal Makes Mana: She taps for [[symbol:r]], [[symbol:g]], [[symbol:w]] or [[symbol:u]]. [[Jeskai Ascendancy]] untaps her every time you cast a noncreature spell.
Four Colors of Interaction: White and green add [[Silence]], [[Orim's Chant]], [[Veil of Summer]] and [[Legolas's Quick Reflexes]] to blue's free counterspells ([[Force of Will]], [[Fierce Guardianship]]).
Weaknesses
Removal Target: Removing [[Crystal, Inhuman Princess]] while she wears auras costs you several cards ([[Swords to Plowshares]]). Hold up [[Legolas's Quick Reflexes]] or [[Deflecting Swat]] the turn you put auras on her.
Graveyard Hate: [[Underworld Breach]] is the main kill, so [[Soul-Guide Lantern]] or [[Bojuka Bog]] slows you down.
Bowmasters: [[Orcish Bowmasters]] deals 1 damage for each extra card you draw, which can kill Crystal. The listed Aura draws are optional, so you can decline them; [[Tandem Lookout]]'s draws are mandatory.
Core Combos
Breach Lines
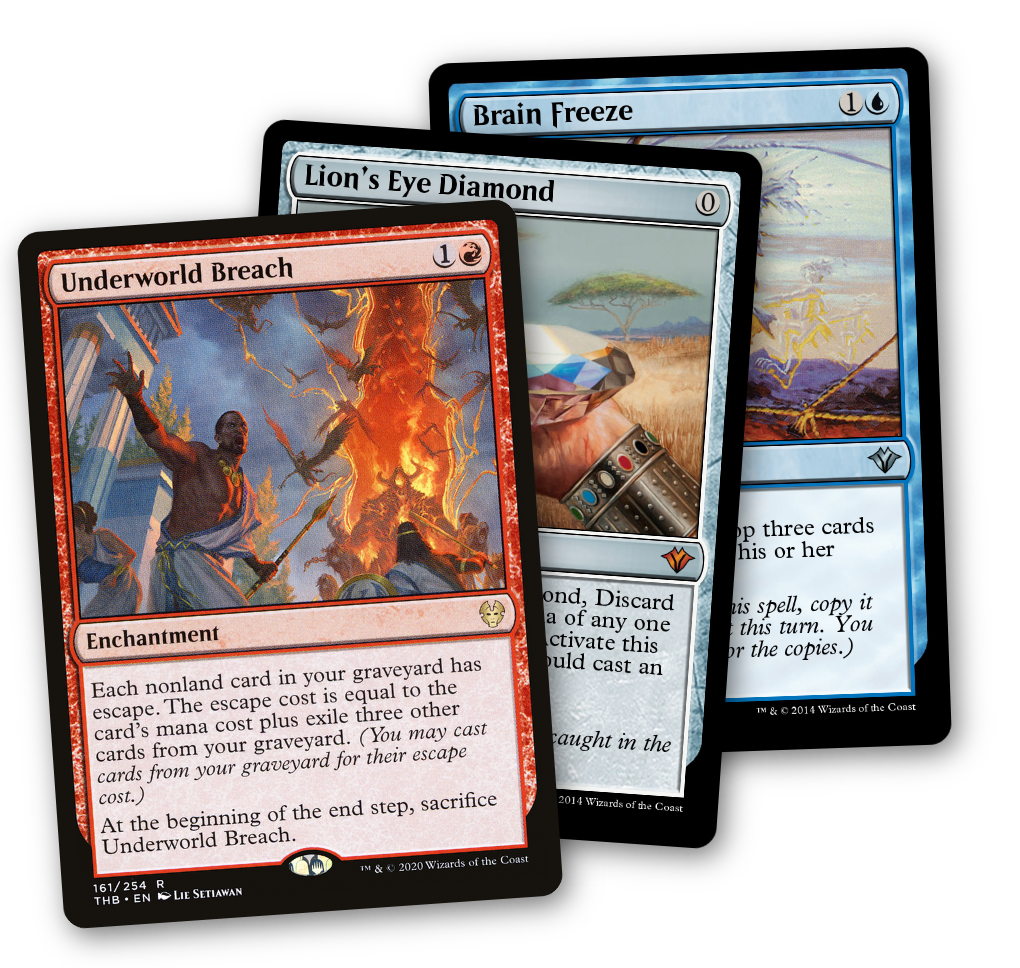
[[Underworld Breach]] + [[Lion's Eye Diamond]] + [[Brain Freeze]]
Requirements: Underworld Breach in hand, Lion's Eye Diamond and Brain Freeze in hand or graveyard, [[symbol:1]][[symbol:r]] to cast Breach in your main phase, and six expendable cards between hand and graveyard. If LED starts in the graveyard, you need nine expendable cards in total, at least three of them already in the graveyard for its first escape. Do not count the combo pieces or cards reserved for the finish as fuel. These are starting requirements for the order below; later escapes need fuel from your self-mill.
Cast [[Underworld Breach]], then cast [[Lion's Eye Diamond]] or escape it by exiling three other cards.
Discard your hand and sacrifice LED for [[symbol:u]][[symbol:u]][[symbol:u]]. Brain Freeze must now be in your graveyard.
Escape LED for [[symbol:0]], exiling three other cards. Let it resolve.
Escape [[Brain Freeze]] for [[symbol:1]][[symbol:u]], exiling three other cards. Aim enough copies at yourself to supply the next escape costs; each copy mills three cards.
Repeat steps 2 - 4 while you have the fuel. Each pass leaves one more [[symbol:u]] and adds two spells to the storm count. Split later copies between yourself and your opponents as needed.
Use enough Brain Freeze copies on each opponent to mill their remaining library.
Note: This is a finite graveyard-fuel sequence, not an unlimited mana loop. Milling opponents does not make them lose until they try to draw. Graveyard hate, spell limits and forced draws can stop the line.
With Crystal out, casting Brain Freeze also deals damage; LED is colorless and does not. [[Tandem Lookout]] makes the resulting draws mandatory, so account for them before self-milling.
Infinite Damage Combos
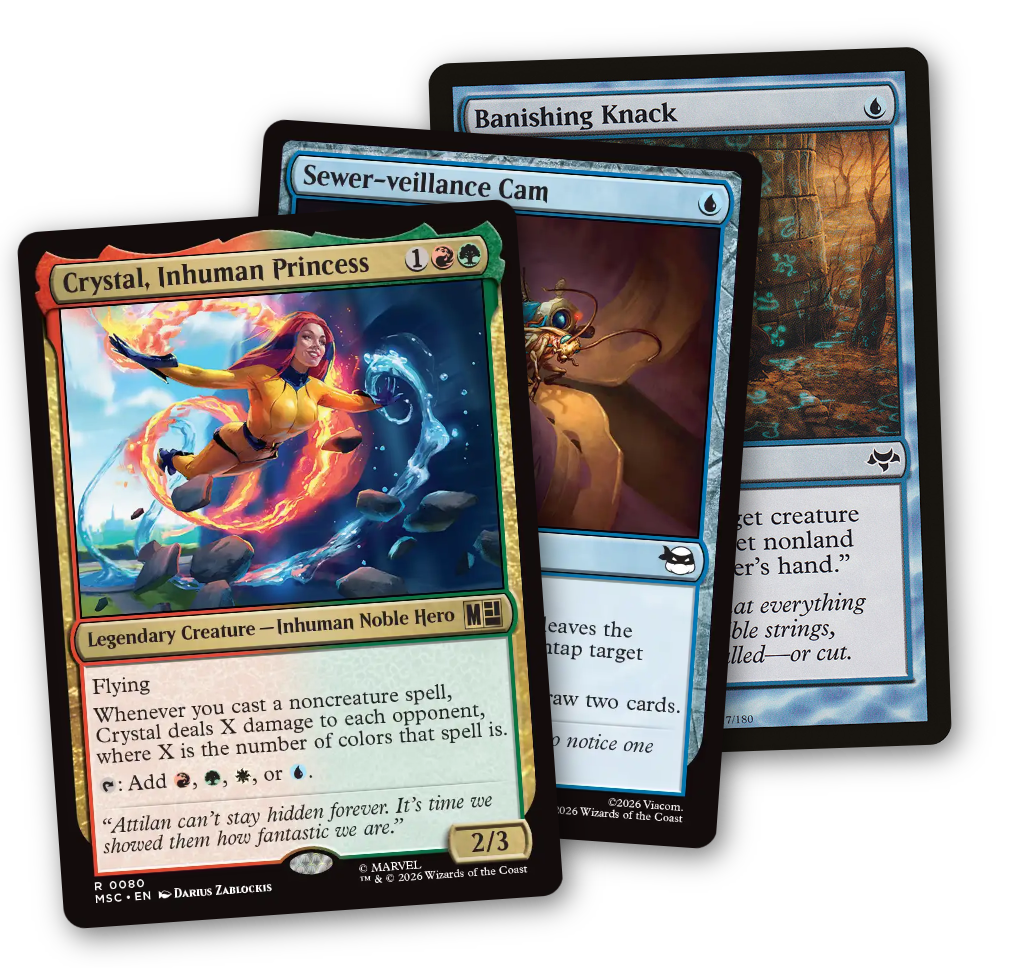
[[Crystal, Inhuman Princess]] + [[Sewer-veillance Cam]] + [[Banishing Knack]] or [[Retraction Helix]]
Requirements: Crystal untapped and continuously under your control since your turn began (or with haste), Sewer-veillance Cam and Banishing Knack or Retraction Helix in hand, and [[symbol:u]] from another source.
Cast [[Banishing Knack]] or [[Retraction Helix]] ([[symbol:u]]) targeting Crystal.
Tap Crystal for [[symbol:u]] and cast [[Sewer-veillance Cam]]. Crystal deals 1 damage to each opponent.
Use the Cam's enter trigger to untap Crystal.
Tap Crystal to return the Cam to your hand. Its leave trigger untaps Crystal.
Repeat steps 2 - 4 until your opponents are dead. See Win Conditions below.
Note: With [[Curiosity]] or a similar effect, you can draw cards as Crystal damages each opponent. Curiosity's draws are optional; [[Tandem Lookout]]'s are mandatory and can deck you before the table dies.
Infinite Mana Combos
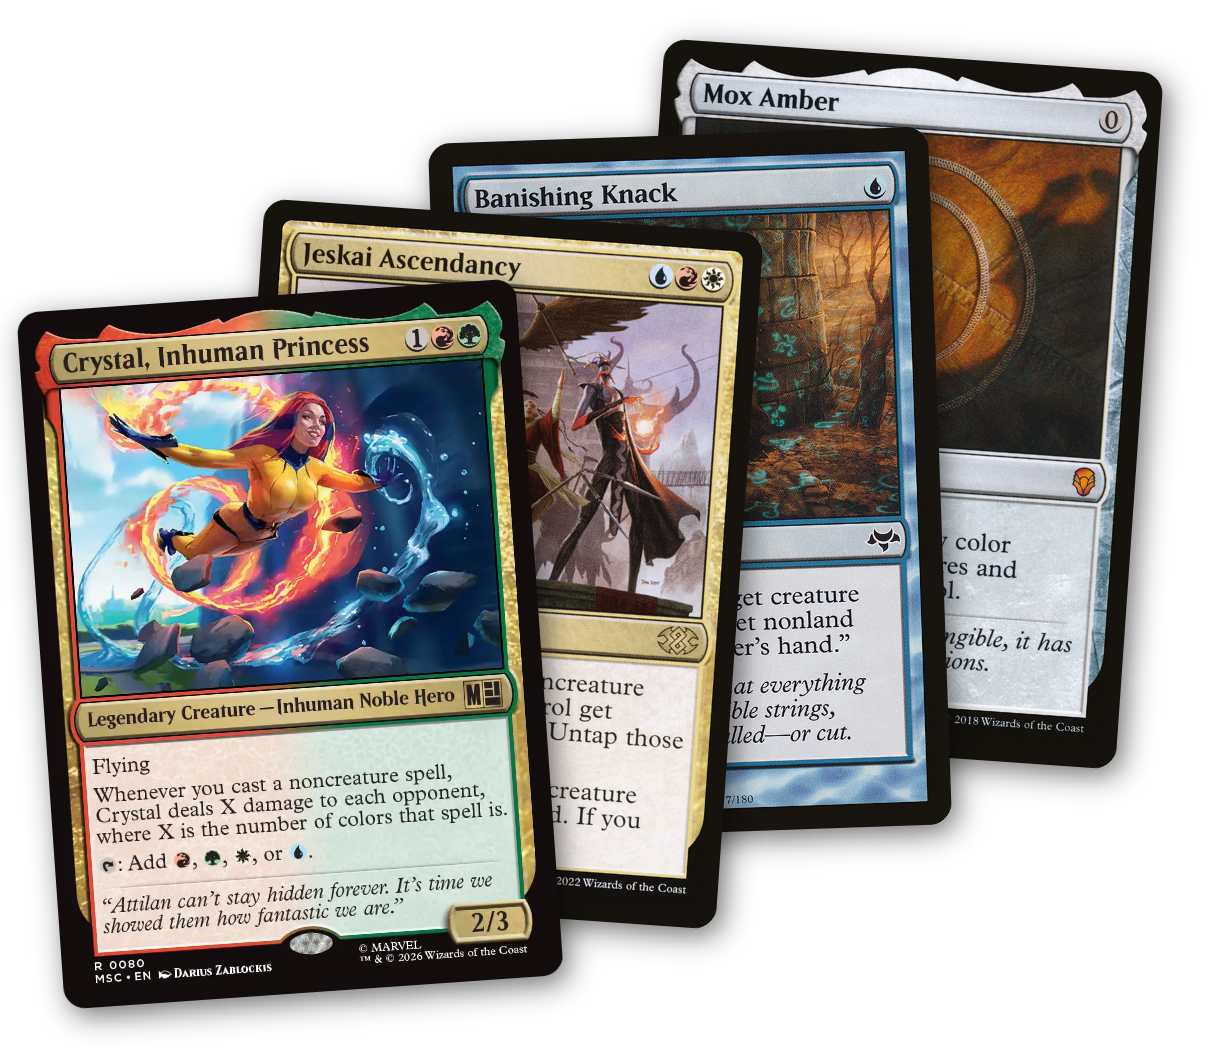
[[Crystal, Inhuman Princess]] + [[Jeskai Ascendancy]] + [[Banishing Knack]] or [[Retraction Helix]] + [[Mox Amber]]
Requirements: Crystal untapped and continuously under your control since your turn began (or with haste), Jeskai Ascendancy on the battlefield, Mox Amber in hand or untapped on the battlefield, and Banishing Knack or Retraction Helix in hand with [[symbol:u]] to cast it.
Cast [[Banishing Knack]] or [[Retraction Helix]] ([[symbol:u]]) targeting Crystal.
Cast [[Mox Amber]] if it's in your hand.
Tap Mox Amber for [[symbol:r]] or [[symbol:g]].
Tap Crystal to return Mox Amber to your hand.
Cast Mox Amber. Resolve Ascendancy's untap and optional loot triggers, then let Mox Amber resolve before tapping it again.
Repeat steps 3 - 5 to create [[symbol:infinity-r]][[symbol:infinity-g]], as much storm as you need, and one optional loot per cast while cards remain in your library.
Keep Brain Freeze when you loot into it, and decline further loots when you have the cards you need. End with Crystal untapped, tap her for [[symbol:u]], and use that blue plus the floating mana to cast Brain Freeze. See Win Conditions below.
Note: [[Valley Floodcaller]] can replace Jeskai Ascendancy if you give it the Knack instead of Crystal, since it untaps itself whenever you cast a noncreature spell. Floodcaller must be untapped and have haste or have been continuously under your control since your turn began. Crystal stays out to enable Mox Amber and supply blue for Brain Freeze. You get no loots, so you need Brain Freeze in hand.
Win Conditions
[[Brain Freeze]]
With a big storm count from [[Underworld Breach]] or the [[Jeskai Ascendancy]] loop, the copies mill each opponent. They lose when they try to draw from an empty library. Passing the turn can finish the game, but an opponent who skips their draw step, such as with [[Necropotence]], may survive. Reshuffle effects and draw replacements can also prevent the finish. If your list runs [[Faerie Mastermind]], get it onto the battlefield and pay [[symbol:3]][[symbol:u]] to make everyone draw immediately. Keep enough cards in your own library for your draws, including any draw needed to find Mastermind; its activation makes you draw too.
The [[Sewer-veillance Cam]] Loop
[[Crystal, Inhuman Princess]] deals 1 damage to each opponent every time you cast the Cam, so the loop kills the table.
A Long Spell Chain
With two or three auras on Crystal, each colored noncreature spell deals damage and can draw cards. Over a long turn the damage adds up.
Tips for Playing Crystal
Mulligan: Keep hands that cast [[Crystal, Inhuman Princess]] by turn two with a draw aura, a tutor or an engine. Check that the hand can also pay for the aura after casting Crystal.
Count Your Colors: A two-color spell like [[Manamorphose]] makes Crystal deal 2 damage to each opponent, but each aura still offers only one draw per opponent damaged.
Protect the Combo Turn: Cast [[Silence]] first and keep [[Veil of Summer]] or a free counterspell up.
Conclusion
Practice the Cam line with Crystal's tap state marked after each action. For Ascendancy, track the blue mana needed for Brain Freeze separately from the red or green made by Mox Amber.
Updated October 2026.
References: