Lumra
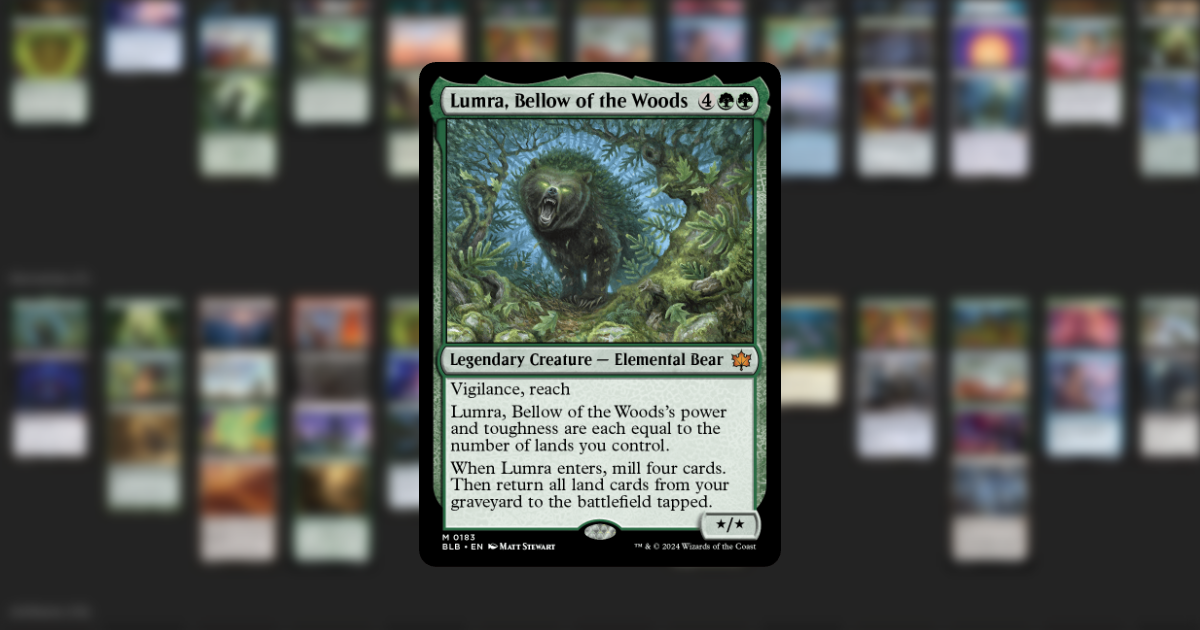
[[Lumra, Bellow of the Woods]] leads a mono-green [[symbol:g]] lands combo deck. When Lumra enters, you mill four cards and return every land card from your graveyard to the battlefield tapped. The deck repeatedly sacrifices and returns lands. With [[Sunscorched Desert]] among them, each return deals 1 damage to a player, letting you finish the table by repeating the loop.
Core Gameplan
Build mana while putting lands into your graveyard, then find a way to use them when [[Lumra, Bellow of the Woods]] returns them. Untap effects, landfall mana and sacrifice outlets determine which loop your board can support.
Tutor for the missing land or support piece before casting Lumra. Her trigger can recover sacrificed lands, but graveyard hate can strand the setup. Check your own stax too, especially whether it disables the sacrifice outlet you intend to use.
Strengths and Weaknesses
Strengths
Hard to Counter: Most of the combo is land abilities and triggers. The [[Shifting Woodland]] and [[Mirrorpool]] lines cast no spells once they start, and they work at instant speed. Lumra cast with [[Delighted Halfling]] mana can't be countered.
Land Recovery: Lands discarded or sacrificed early can return with Lumra. Sacrificing a land for early value does not always mean losing that mana source for the rest of the game.
Many Ways to Loop: Several loops share pieces such as [[Lotus Cobra]], [[Zuran Orb]] and [[Spelunking]]. Those shared pieces can support a different line if you lose one combo card.
Weaknesses
Graveyard Hate: [[Rest in Peace]] and [[Dauthi Voidwalker]] turn off almost every line. [[Boseiju, Who Endures]] and [[Archdruid's Charm]] answer Rest in Peace, and Charm's damage mode can kill Voidwalker.
Enter Trigger Hate: [[Torpor Orb]] and [[Hushbringer]] stop Lumra's trigger, and only the [[Shifting Woodland]] line still works through them.
Limited Stack Interaction: Plan disruption before an Oracle attempt. Removing [[Thassa's Oracle]] alone does not stop its trigger from winning with an empty library.
Core Combos
Infinite Landfall Loops
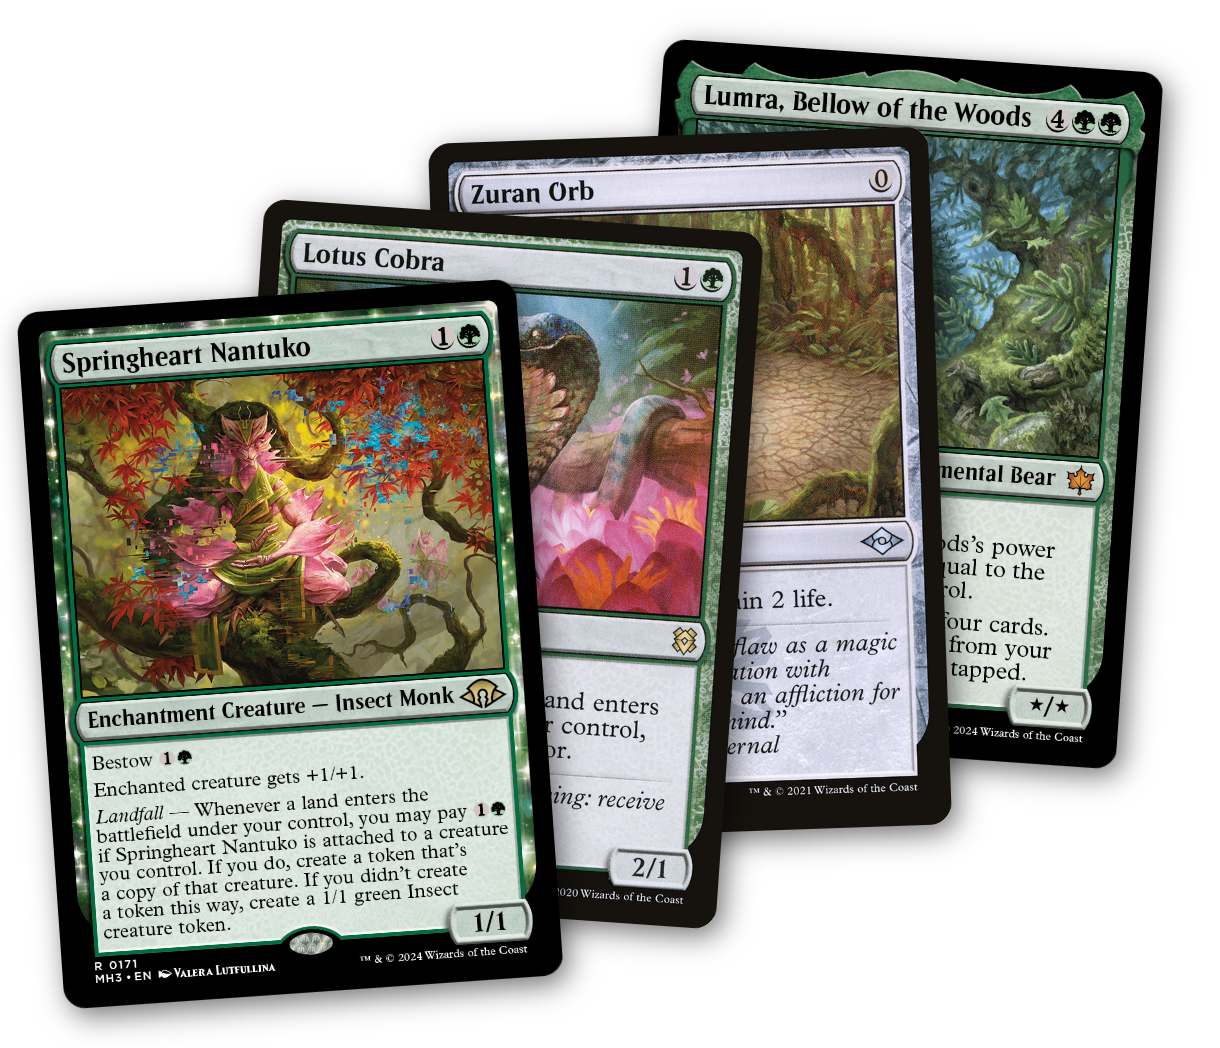
[[Lumra, Bellow of the Woods]] + [[Springheart Nantuko]] + [[Lotus Cobra]] + [[Zuran Orb]]
Requirements: Lumra with [[Springheart Nantuko]] bestowed on her, [[Lotus Cobra]] and [[Zuran Orb]] on the battlefield, a land in hand and an available land play in your main phase, [[symbol:1]][[symbol:g]], and at least three lands to sacrifice and return each pass, counting the land you play to start.
Play a land. Put Cobra's trigger above Nantuko's and let Cobra add its mana before resolving Nantuko.
With the trigger on the stack, sacrifice all your lands to Zuran Orb.
Pay [[symbol:1]][[symbol:g]] for the trigger to create a token copy of Lumra.
For the legend rule, keep the original Lumra, since Nantuko is attached to her. The token's enter trigger still returns all your lands.
Resolve the Cobra triggers first. Resolve all but one Nantuko trigger without paying, making Insects. With the last Nantuko trigger waiting, sacrifice the lands, then pay [[symbol:1]][[symbol:g]] as it resolves to copy Lumra again.
Repeat steps 4 - 5 for infinite landfall and [[symbol:infinity-g]].
See Win Conditions below.
Note: Bestowed Nantuko gives the original Lumra +1/+1, so she survives even with no lands. Keep that original when the token enters. [[Nissa, Resurgent Animist]] can replace Cobra; [[Tireless Provisioner]] also works if you choose Treasure for its triggers and can activate those Treasures.
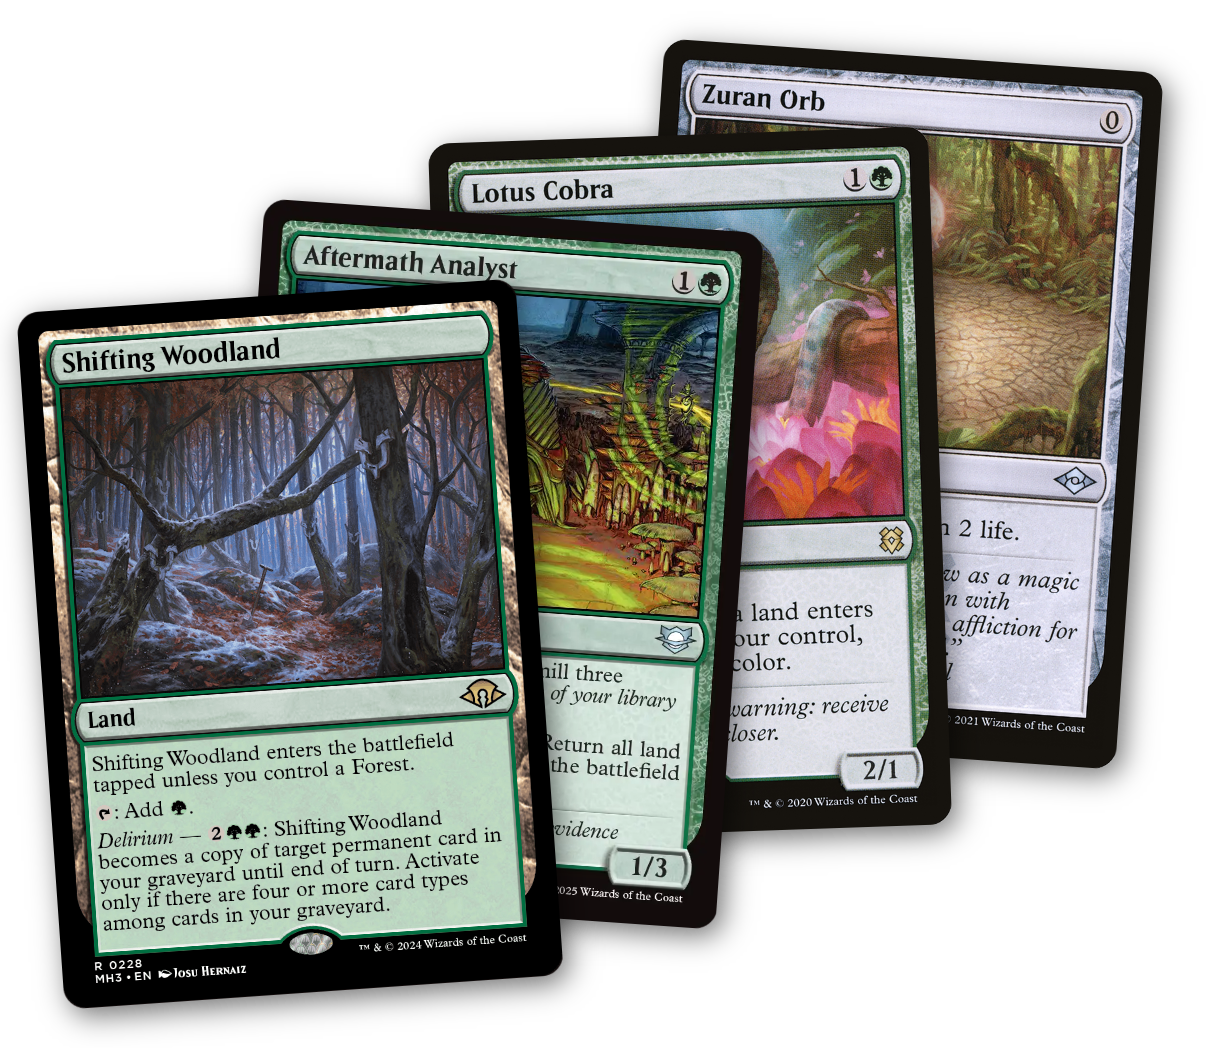
[[Shifting Woodland]] + [[Aftermath Analyst]] + [[Lotus Cobra]] + [[Zuran Orb]] or [[Sylvan Safekeeper]]
Requirements: [[Aftermath Analyst]] in your graveyard with delirium (four or more card types there), [[Shifting Woodland]], [[Lotus Cobra]] and Zuran Orb or Safekeeper on the battlefield, eight or more lands, and [[symbol:2]][[symbol:g]][[symbol:g]] plus [[symbol:3]][[symbol:g]] for the first pass.
Tap your lands for mana if you can, then sacrifice every land except Shifting Woodland.
Pay [[symbol:2]][[symbol:g]][[symbol:g]] to make Shifting Woodland a copy of Aftermath Analyst.
Pay [[symbol:3]][[symbol:g]] and sacrifice the Woodland to return every land card from your graveyard, Woodland included. Let Cobra's landfall triggers resolve for one mana per returned land before repeating.
Repeat steps 1 - 3 for infinite landfall. With nine or more lands, you also make infinite mana.
See Win Conditions below.
Note: [[Spelunking]] or another untap piece can make the mana instead of Lotus Cobra. Spelunking makes the lands enter untapped; Amulet and Tiller require their untap triggers to resolve. The loop works if the returned lands can then tap for [[symbol:5]][[symbol:g]][[symbol:g]][[symbol:g]]. Recheck delirium before each Woodland activation.
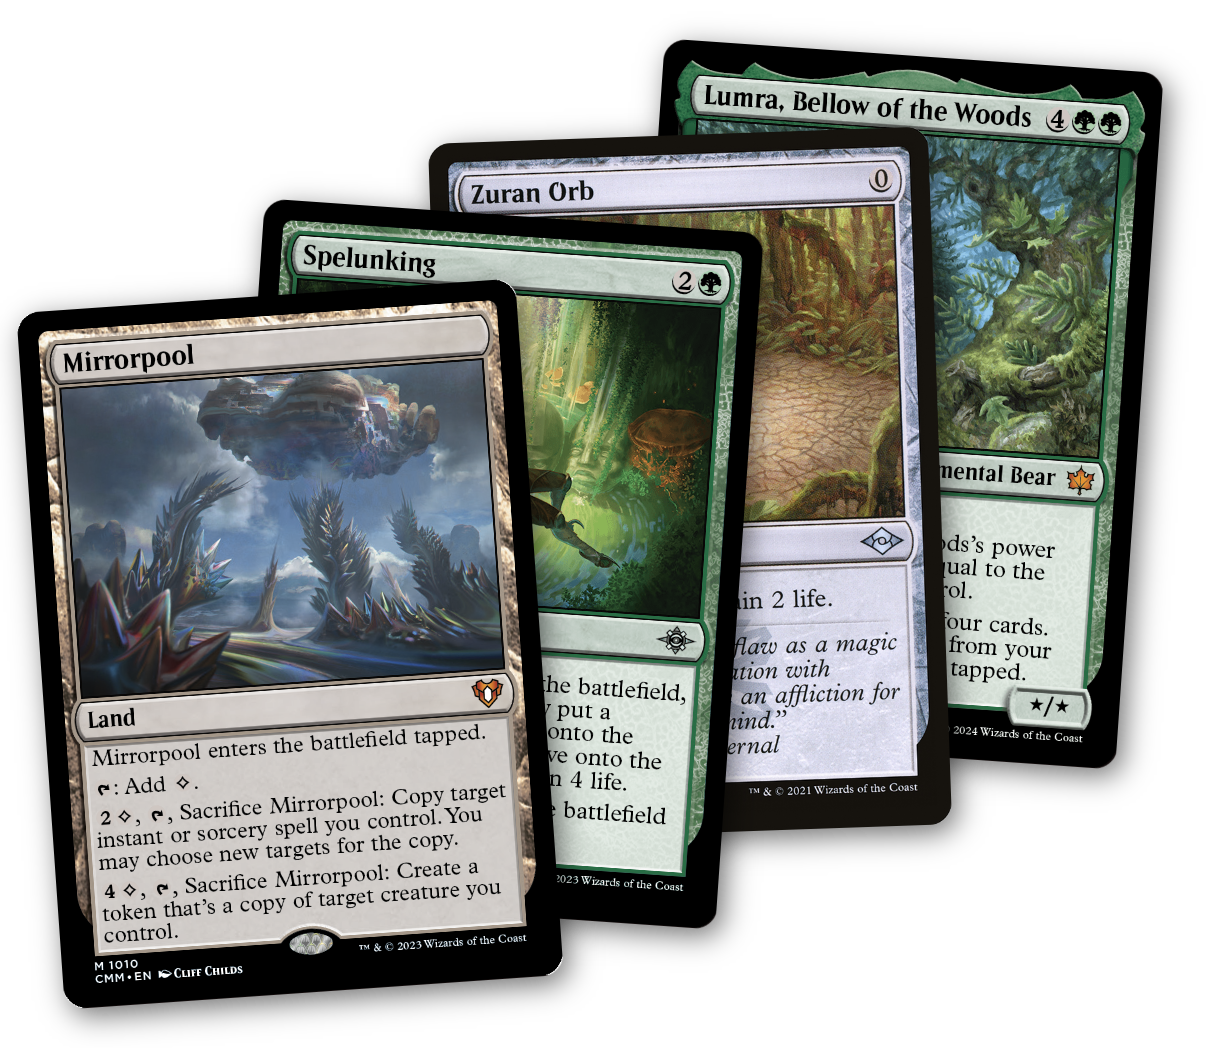
[[Lumra, Bellow of the Woods]] + [[Mirrorpool]] + [[Spelunking]] + [[Zuran Orb]] or [[Sylvan Safekeeper]]
Requirements: Lumra, an untapped [[Mirrorpool]], [[Spelunking]] (or [[Amulet of Vigor]], [[Tiller Engine]] or [[Horizon Explorer]]), Zuran Orb or Safekeeper, other lands that make [[symbol:4]][[symbol:c]], and one more land that stays on the battlefield. Lumra's power and toughness equal your land count, so with no lands she dies before Mirrorpool's ability resolves.
Tap your other lands for [[symbol:4]][[symbol:c]], then sacrifice them, keeping the one extra land.
Pay [[symbol:4]][[symbol:c]], tap and sacrifice Mirrorpool to create a token copy of Lumra.
Keep the original Lumra for the legend rule. The token's enter trigger returns every land, Mirrorpool included. Spelunking or Horizon Explorer makes them enter untapped; with Amulet or Tiller, resolve the untap triggers before repeating.
Repeat steps 1 - 3 for infinite landfall.
See Win Conditions below.
Note: With Safekeeper, give the shroud to Safekeeper itself so Mirrorpool can still target Lumra.
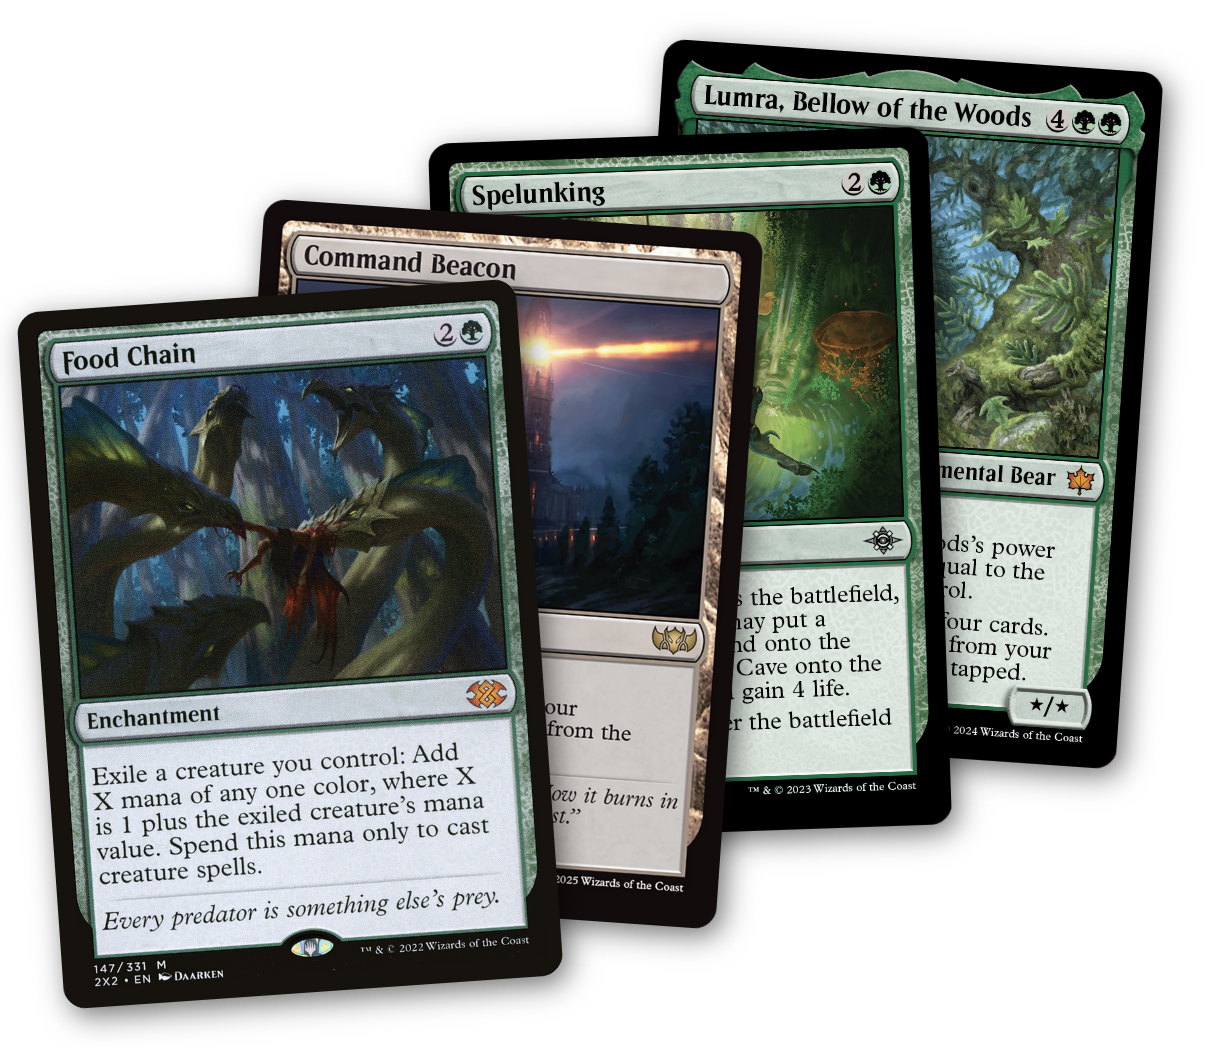
[[Lumra, Bellow of the Woods]] + [[Food Chain]] + [[Command Beacon]] + [[Spelunking]]
Requirements: Lumra (your commander), [[Food Chain]], an untapped [[Command Beacon]], another land, and [[Spelunking]] (or another untap piece) on the battlefield. A Desert finish also needs [[Sunscorched Desert]] and a separate repeatable land-sacrifice outlet.
Exile Lumra with Food Chain for seven [[symbol:g]] to spend on creature spells. Move Lumra to the command zone.
Tap and sacrifice Command Beacon to put Lumra into your hand.
Cast Lumra from your hand with no commander tax, leaving [[symbol:g]] floating.
Lumra's trigger returns Command Beacon. Let any required untap trigger resolve before continuing.
Repeat steps 1 - 4 for infinite Lumra enters and [[symbol:infinity-g]] for creature spells.
See Win Conditions below.
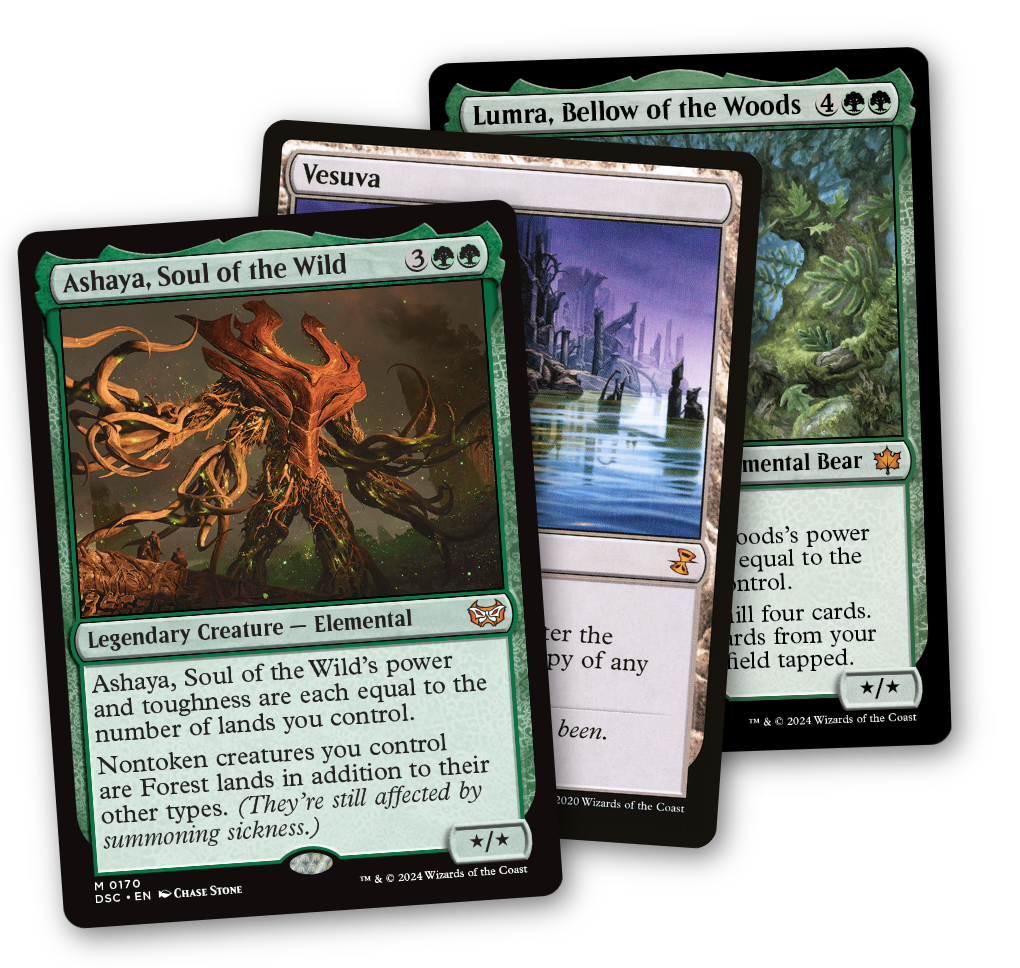
[[Lumra, Bellow of the Woods]] + [[Ashaya, Soul of the Wild]] + [[Vesuva]]
Requirements: Lumra and [[Ashaya, Soul of the Wild]] on the battlefield, [[Vesuva]] in hand, and a land drop left.
Play Vesuva as a copy of Lumra. Ashaya makes Lumra a land, so Vesuva can copy her.
Keep the original Lumra and put Vesuva into your graveyard for the legend rule. Its enter trigger mills four cards, then returns all land cards from your graveyard tapped, including Vesuva.
Have Vesuva enter as a copy of Lumra again. Repeat steps 2 - 3 for repeated land entries and creature deaths. An empty library does not stop the return.
To stop, copy another land already on the battlefield instead of Lumra, or decline Vesuva's copy effect and let it enter as itself. It still enters tapped.
See Win Conditions below.
Note: This loop doesn't produce mana or damage by itself. Add [[Zuran Orb]] to sacrifice [[Sunscorched Desert]] each pass. [[Grafdigger's Cage]] allows Vesuva to return because it is a land card in the graveyard; [[Containment Priest]] exiles it instead if you choose to copy Lumra.
Win Conditions
[[Sunscorched Desert]]
Sacrifice it every loop with [[Zuran Orb]] or [[Sylvan Safekeeper]]. Each time it returns, it deals 1 damage to target player.
[[Field of the Dead]]
With seven or more differently named lands, each land entering makes a 2/2 Zombie. With Finale in hand, cast [[Finale of Devastation]] before combat for X of at least 10 and enough damage to finish the table, using unrestricted mana. Otherwise, the Zombies must wait until they can legally attack.
Tips for Playing Lumra
Mulligan: Keep acceleration, an untap piece or sacrifice outlet, and a tutor or a way to cast Lumra.
Plan the LED Discard: Activate [[Lion's Eye Diamond]] before announcing Lumra; its timing restriction prevents activating it during casting. Lumra's trigger can recover discarded lands, but discarded nonland combo pieces need another recovery plan.
Sequence Around Bauble: Play free artifacts before [[Vexing Bauble]], or remove it before you need to cast them. It counters your own [[Zuran Orb]] and LED when no mana was spent on them.
Mind Your Own Stax: Most lists play [[Collector Ouphe]], which also turns off your Zuran Orb, LED and mana rocks. Use [[Sylvan Safekeeper]] as your outlet while it's out.
Conclusion
Practice each land loop with the lands laid out separately from the mana they produce. Check Lumra's toughness whenever a line sacrifices lands, and distinguish Food Chain mana from mana you can spend on any spell.
Updated October 2026.
References: