Arcum Dagsson
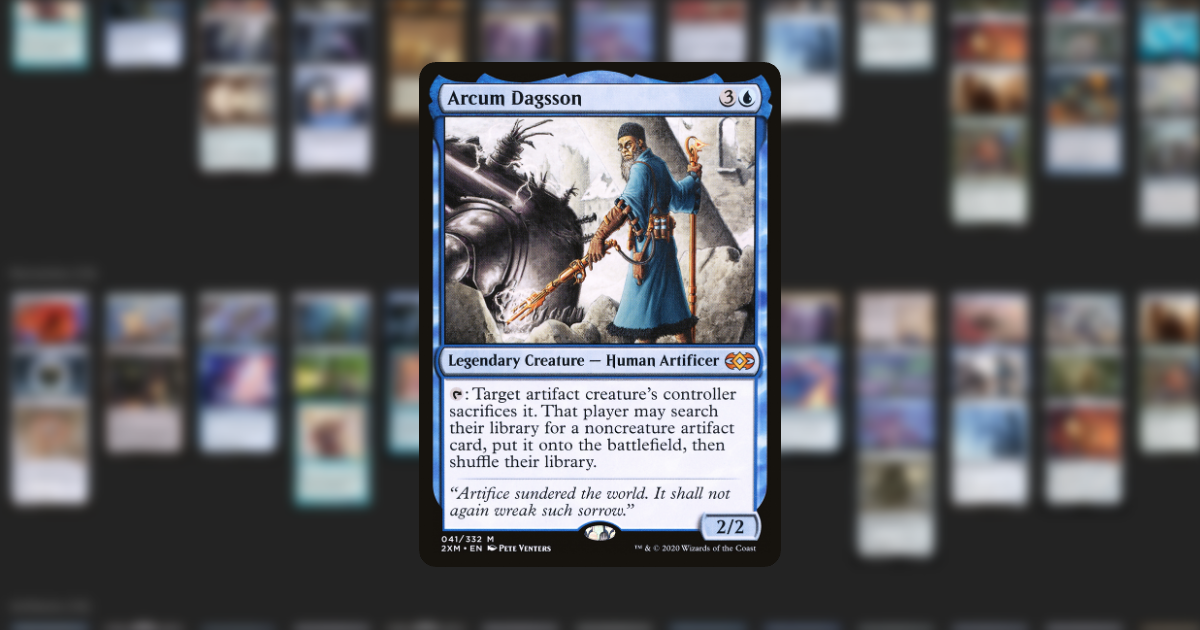
[[Arcum Dagsson]] leads a mono-blue [[symbol:u]] artifact combo deck with a stax package. Arcum taps to target one of your artifact creatures. When the ability resolves, you sacrifice it and may search for a noncreature artifact to put onto the battlefield. You use him to find stax pieces, [[Portal to Phyrexia]], or an infinite mana combo that wins with [[Walking Ballista]].
Core Gameplan
Develop artifact mana and creatures you can sacrifice, then get [[Arcum Dagsson]] ready to activate. His first search should address the table: a hate piece against an imminent win, card draw for a longer game, or a combo piece when you can finish.
Keep fodder for the next activation. Arcum can find the noncreature artifacts, but creatures such as [[Metalworker]] and [[Filigree Sages]] need to come from your hand or another tutor.
Strengths and Weaknesses
Strengths
Repeatable Tutor: Every time Arcum untaps with fodder out, you get any noncreature artifact in your deck ([[Chromatic Orrery]], [[Staff of Domination]], [[God-Pharaoh's Statue]]).
Big Artifacts for Free: Arcum puts a nine-mana [[Portal to Phyrexia]] onto the battlefield for the price of an [[Ornithopter]].
Mana for Interaction: Arcum's ability costs no mana, leaving your lands available for interaction. [[Force of Will]], [[Fierce Guardianship]] and [[Pact of Negation]] can also protect a search without a mana payment, though Force needs another blue card and Pact needs a plan for its upkeep cost.
Weaknesses
Commander Dependent: Arcum costs four mana, needs fodder, and needs haste or Thousand-Year Elixir's activation permission to fetch the turn he enters. Without him, you rely on narrower searches such as [[Transmute Artifact]] or a more expensive tutor such as [[Tezzeret the Seeker]].
Artifact Hate: [[Collector Ouphe]] and [[Null Rod]] turn off your mana rocks and the artifact activations in the listed combos, and [[Kataki, War's Wage]] taxes each artifact. Arcum isn't an artifact, so he keeps fetching through them.
Little Card Draw: Besides [[Mystic Remora]], [[Rhystic Study]] and [[The One Ring]], most of your cards are mana, fodder and fetch targets, so you can run out of cards in a long game.
Core Combos
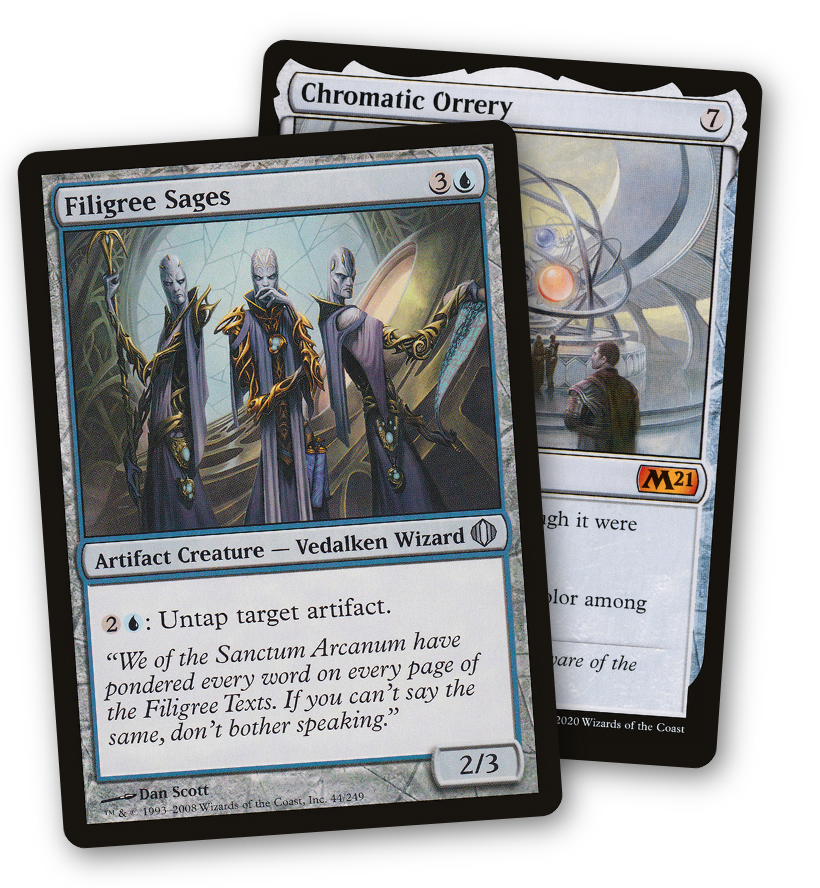
[[Filigree Sages]] + [[Chromatic Orrery]]
Requirements: [[Filigree Sages]] and an untapped [[Chromatic Orrery]] on the battlefield.
Tap [[Chromatic Orrery]] for five colorless mana.
Pay [[symbol:2]][[symbol:u]] to untap Orrery with [[Filigree Sages]]. Orrery lets you spend colorless mana as if it were [[symbol:u]].
Repeat steps 1 - 2 to create [[symbol:infinity-c]].
Use Orrery's draw ability ([[symbol:5]], tap), then pay [[symbol:2]][[symbol:u]] to untap it with Sages. Sages is a blue permanent, so Orrery draws at least one card; each other color among your permanents adds another. Stop when you find Ballista or the next batch would exceed your library. If Ballista is in a batch larger than your remaining library, you need another way to reach it; you cannot cast it between draws of the same ability.
See Win Conditions below.
Note: Filigree Sages doesn't tap to use its ability, so it works the turn it enters.
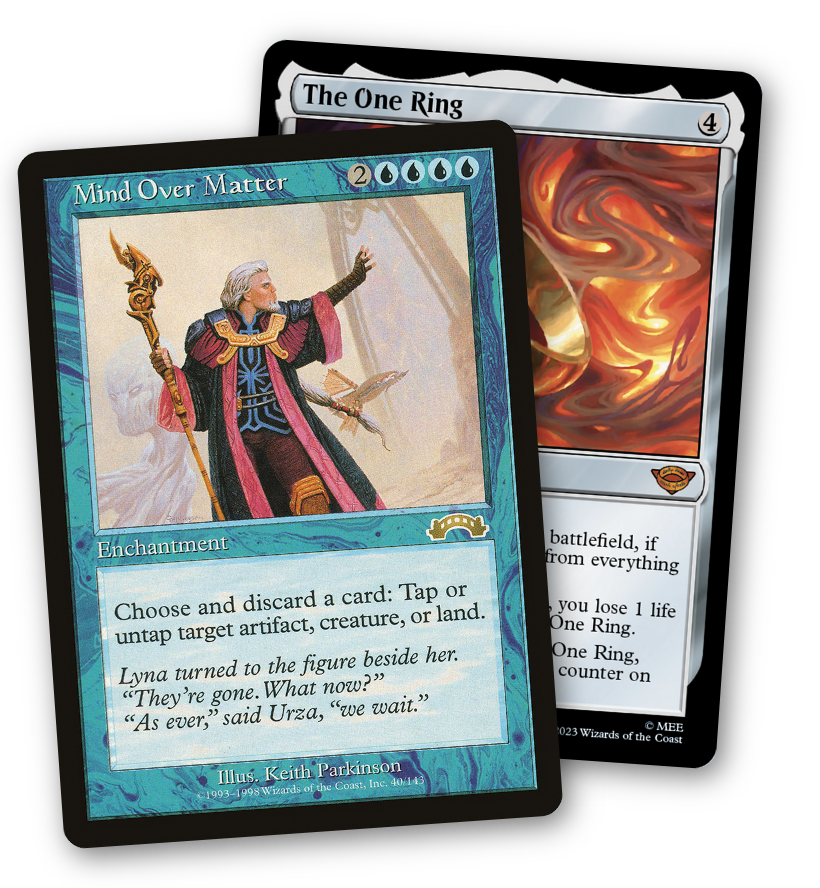
[[Mind Over Matter]] + [[The One Ring]]: Finding the Combo
Requirements: [[Mind Over Matter]] and an untapped [[The One Ring]] on the battlefield.
Tap [[The One Ring]] to put a burden counter on it and draw a card for each burden counter.
Discard a card to [[Mind Over Matter]] to untap the Ring.
Repeat while you have expendable cards for the untaps. Each activation draws a larger batch, so stop when you find the pieces you need or before the next activation would draw more cards than remain. This pair cannot always safely reach every card in your library.
The loop makes no mana. Discard extra cards to Mind Over Matter to untap your lands and mana rocks, then use that mana to assemble another combo from this page.
See Win Conditions below.
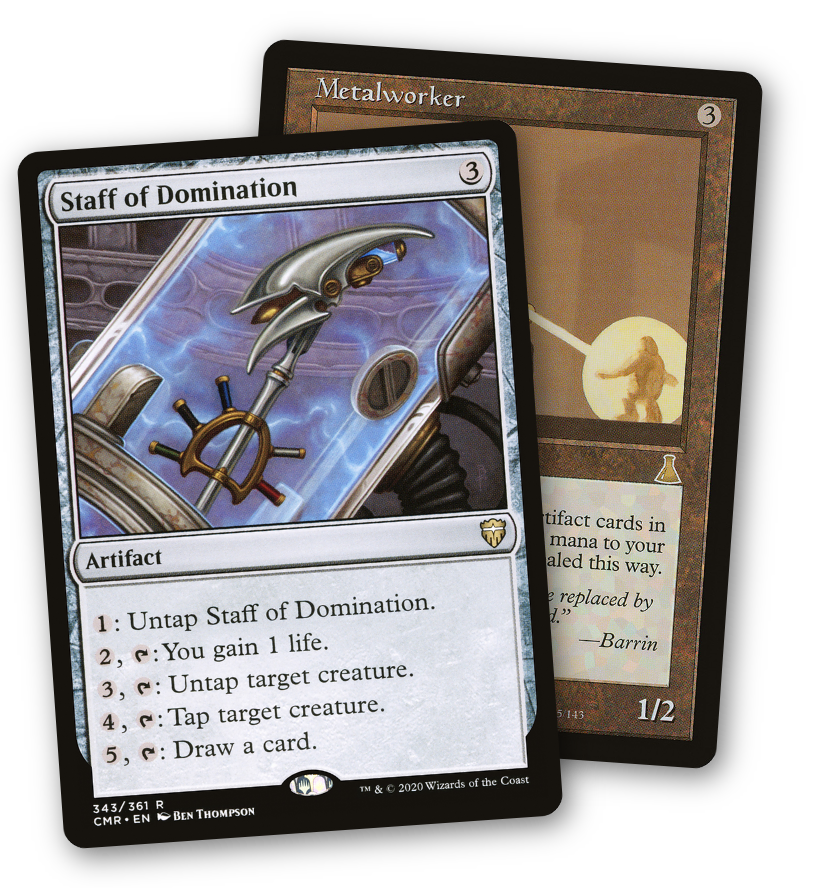
[[Staff of Domination]] + [[Metalworker]]
Requirements: an untapped [[Staff of Domination]] and an untapped [[Metalworker]] on the battlefield, and three artifact cards to keep in hand. Metalworker must have been under your control since your turn began, have haste, or have permission from Thousand-Year Elixir.
Tap [[Metalworker]], revealing three artifact cards, for [[symbol:6]].
Pay [[symbol:3]] and tap Staff targeting Metalworker. Let the ability resolve to untap it.
Pay [[symbol:1]] to untap Staff.
Repeat steps 1 - 3 to create [[symbol:infinity-c]].
Use Staff's draw ability ([[symbol:5]], tap) one card at a time, paying [[symbol:1]] to untap it between draws. Stop at your payoff before drawing from an empty library.
See Win Conditions below.
Note: [[Crashing Drawbridge]], [[Thousand-Year Elixir]] or [[Lavaspur Boots]] let a new Metalworker tap the turn it enters. Drawbridge must itself be able to pay its tap cost, and Metalworker must already be on the battlefield when that ability resolves.
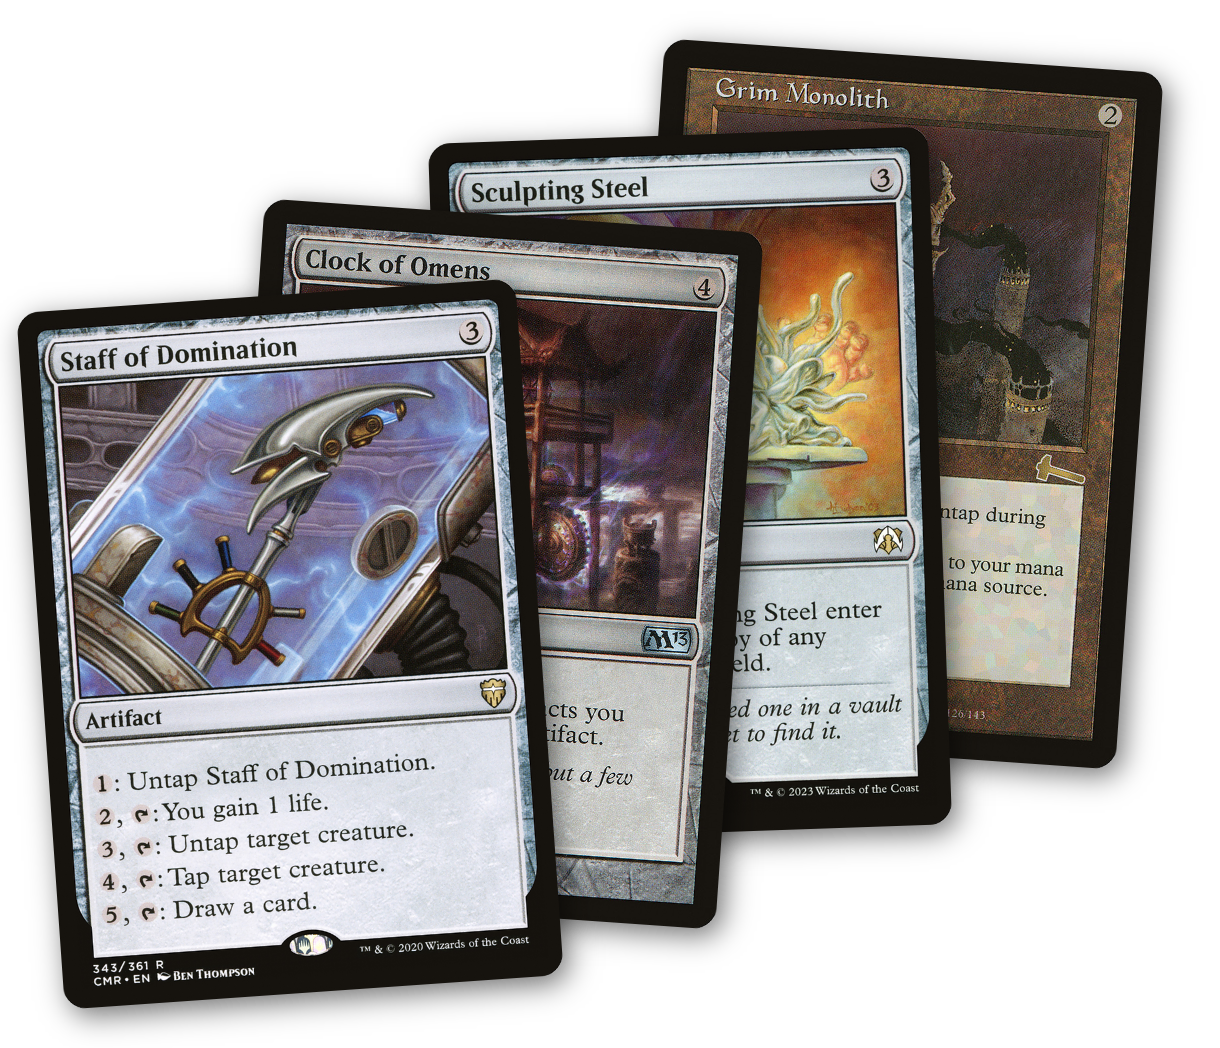
[[Staff of Domination]] + [[Clock of Omens]] + [[Sculpting Steel]] + [[Grim Monolith]] or [[Mana Vault]]
Requirements: [[Staff of Domination]], [[Clock of Omens]], a [[Sculpting Steel]] copying Staff, and [[Grim Monolith]] or [[Mana Vault]] on the battlefield. Both Staffs and the mana rock must be untapped; Clock may be tapped.
Tap Grim Monolith or Mana Vault for [[symbol:3]].
Tap Staff and the Sculpting Steel copy to activate [[Clock of Omens]] targeting the rock. Let the ability resolve to untap it.
Pay [[symbol:1]] to untap Staff and [[symbol:1]] to untap the copy.
Repeat steps 1 - 3 to create [[symbol:infinity-c]].
Use Staff's draw ability ([[symbol:5]], tap) one card at a time, paying [[symbol:1]] to untap it between draws. Stop at your payoff before drawing from an empty library.
See Win Conditions below.
Note: None of the four pieces is a creature, so Arcum can fetch all of them and none needs haste.
Win Conditions
[[Walking Ballista]]
In your main phase, choose an X large enough to cover the damage you need, pay twice X to cast it, then remove counters to damage your opponents. Its damage ability does not require tapping, so a new Ballista can use it immediately. Generating mana on another player's turn does not give Ballista flash or keep that mana past the end of the step.
[[Portal to Phyrexia]]: Building a Winning Board
When it enters, each opponent sacrifices three creatures. At the start of each of your upkeeps, you reanimate a creature card from any graveyard. It's a slow win for long games.
Creature Lands
[[Inkmoth Nexus]], [[Blinkmoth Nexus]] and [[Mishra's Factory]] attack once the board is locked, and they're Arcum fodder while animated.
Tips for Playing Arcum
Mulligan: Keep two or three mana sources, a way to cast Arcum by turn three, and a piece of fodder. A free counterspell is a bonus. You don't need fetch targets in hand, since Arcum finds them.
Protect the Fodder: Arcum targets the artifact creature, so removing it in response stops the fetch. Fetch when the table is tapped low or you hold a counterspell.
Pick the Fetch for the Table: Take [[Portal to Phyrexia]] against creature decks, [[The One Ring]] when you need cards, and [[God-Pharaoh's Statue]] or [[Damping Sphere]] against storm. A fetched One Ring doesn't give you protection, since that only happens when you cast it.
Arcum as an Artifact: Once [[Encroaching Mycosynth]] makes Arcum an artifact, [[Collector Ouphe]] and [[Null Rod]] stop his ability, and artifact removal can hit him.
Conclusion
Before activating Arcum, identify both the artifact you need and the creature you will sacrifice next time. A strong first fetch can still leave you unable to activate him again.
Updated October 2026.
References: